

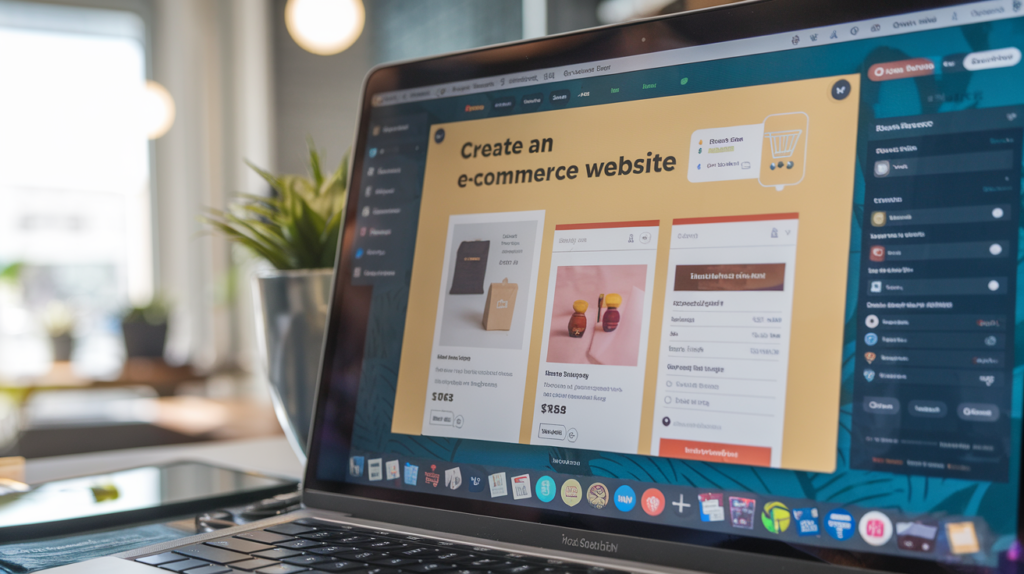
In today’s fast-paced digital world, having an online presence is no longer a luxury—it’s a necessity. Whether you’re a small business owner, an entrepreneur, or someone looking to sell products online, creating an e-commerce website has never been easier. Thanks to modern tools and platforms, you can set up a fully functional online store in just 10 minutes. Yes, you read that right—10 minutes! In this blog post, I’ll walk you through the step-by-step process of creating your very own e-commerce website quickly and efficiently.
Why Build an E-Commerce Website?
Before diving into the “how,” let’s talk about the “why.” E-commerce websites allow you to reach a global audience, operate 24/7, and scale your business with minimal overhead costs. Whether you’re selling physical products, digital downloads, or services, an online store is the perfect way to grow your brand and increase sales.
The best part? You don’t need to be a tech wizard or spend thousands of dollars to get started. With user-friendly platforms and pre-designed templates, anyone can create a professional-looking e-commerce website in minutes.
Step 1: Choose the Right E-Commerce Platform
The first step in creating your e-commerce website is selecting the right platform. There are several options available, but for speed and simplicity, I recommend using platforms like Shopify, Wix, or Squarespace. These platforms are beginner-friendly, require no coding knowledge, and offer everything you need to get started.
For this guide, I’ll use Shopify as an example, but the process is similar across most platforms.
Step 2: Sign Up and Create an Account
- Go to Shopify’s website and click on the “Start free trial” button.
- Enter your email address, create a password, and provide a name for your store.
- Fill in basic details like your country and business type.
- Click “Create your store,” and you’re ready to move on to the next step.
This process takes less than 2 minutes!
MUST READ:How to Detect Hidden Cameras in a Hotel Room Using Your Smartphone
Step 3: Customize Your Store’s Design
Once your account is set up, you’ll be directed to your dashboard. Here’s where the fun begins! Shopify (and most other platforms) offers a variety of free and paid themes to choose from. These themes are professionally designed and fully customizable.
- Go to the “Online Store” section in your dashboard.
- Browse through the available themes and select one that matches your brand’s aesthetic.
- Click “Add theme” and then “Publish” to apply it to your store.
Customizing your theme is easy. You can change colors, fonts, and layouts with just a few clicks. Most platforms also allow you to preview your changes in real-time, so you can see exactly how your store will look to customers.

Step 4: Add Your Products
Now that your store looks great, it’s time to add your products. This is the most important part of setting up your e-commerce website.
- Go to the “Products” section in your dashboard and click “Add product.”
- Enter the product name, description, price, and upload high-quality images.
- Add details like SKU, inventory status, and shipping information.
- Categorize your products to make them easy to find.
If you’re selling multiple products, you can import them in bulk using a CSV file. This saves time and ensures consistency across your store.
Step 5: Set Up Payment and Shipping Options
ALSO CHECK: How to Start an E-Commerce Business in 2025: A Step-by-Step Guide
To start accepting payments, you’ll need to set up a payment gateway. Shopify supports a wide range of options, including credit cards, PayPal, and Apple Pay.
- Go to the “Payments” section in your dashboard.
- Choose your preferred payment gateway and follow the setup instructions.
- Test the payment process to ensure everything works smoothly.
Next, configure your shipping settings. You can offer free shipping, flat-rate shipping, or real-time carrier rates. Be sure to specify shipping zones and rates based on your target audience.
Step 6: Configure Your Domain Name
Your domain name is your store’s address on the internet (e.g., www.yourstore.com). Most platforms offer a free subdomain (e.g., yourstore.myshopify.com), but for a professional look, it’s best to use a custom domain.
- Go to the “Domains” section in your dashboard.
- If you already own a domain, connect it to your store. If not, you can purchase one directly through the platform.
- Once your domain is set up, your store will be accessible to customers.
Step 7: Test Your Website
Before launching, it’s crucial to test your website to ensure everything works as expected. Here’s a quick checklist:
- Test the navigation: Can customers easily find your products?
- Test the checkout process: Is it smooth and error-free?
- Test your payment gateway: Are payments being processed correctly?
- Test your website on mobile devices: Is it responsive and user-friendly?
Most platforms offer a preview mode, so you can test your store without making it live.
Step 8: Launch Your Store
Once you’re satisfied with your store, it’s time to go live! Simply remove the password protection (if applicable) and announce your launch. Share your store’s link on social media, email your contacts, and start driving traffic to your website.

Bonus Tips for Success
- Optimize for SEO: Use relevant keywords in your product descriptions and meta tags to improve your search engine rankings.
- Leverage Social Media: Promote your products on platforms like Instagram, Facebook, and TikTok to reach a wider audience.
- Offer Discounts: Attract customers with special offers, discounts, or free shipping.
- Analyze Performance: Use built-in analytics tools to track your store’s performance and make data-driven decisions.
Conclusion
Creating an e-commerce website in 10 minutes is not only possible but also incredibly simple with the right tools. By following the steps outlined in this guide, you can set up a professional online store and start selling your products in no time. Remember, the key to success lies in choosing the right platform, customizing your store to reflect your brand, and continuously optimizing your website for better performance.
So, what are you waiting for? Take the first step toward building your online empire today. Your e-commerce journey starts now!
Final Thoughts
While creating an e-commerce website in 10 minutes is a great start, building a successful online business takes time, effort, and dedication. Focus on providing value to your customers, delivering exceptional service, and staying consistent with your efforts. With the right mindset and tools, the sky’s the limit for your e-commerce venture. Happy selling!
Nice and helpful information.