
In the world of digital marketing, data is power — and no tool provides more valuable insights than Google Analytics 4 (GA4). Whether you run an e-commerce store, a business website, or a blog, GA4 helps you understand how users interact with your site, what drives conversions, and where your growth opportunities lie.
If you’re still using Universal Analytics (UA) or haven’t configured GA4 properly, you’re missing out on smarter tracking, privacy compliance, and better integration with other Google tools.
This comprehensive guide will walk you through how to set up Google Analytics 4 for US-based websites in 2025, while following Google’s policy and privacy standards.
ALSO CHECK: Select Best Chrome Extensions for Students and Professionals (2025 Edition)
1. What Is Google Analytics 4 (GA4)?
Google Analytics 4 is the next generation of web analytics that officially replaced Universal Analytics in July 2023.
Unlike its predecessor, GA4 focuses on event-based tracking instead of session-based data. This means it captures user interactions more accurately — such as clicks, video plays, purchases, and scrolls — across both websites and mobile apps.
Key Advantages of GA4:
- Enhanced cross-device tracking (web + app)
- Built-in privacy controls (GDPR & CCPA ready)
- Predictive metrics powered by Google’s machine learning
- Deeper integration with Google Ads and BigQuery
- Free and future-proof analytics
For businesses in the United States, where user privacy and data transparency are increasingly important, GA4 is not just an upgrade — it’s essential.
2. Prerequisites Before You Start
Before setting up GA4, ensure you have:
- A Google account (Gmail or Workspace)
- Admin access to your website
- A Google Tag Manager (GTM) account (recommended)
- The ability to add tracking code to your site
Optional but useful:
- A Google Ads account if you plan to run ad campaigns
- A Google Search Console property for better SEO integration
3. Step-by-Step Guide to Setting Up GA4 for US Websites
Let’s go step-by-step through the setup process.
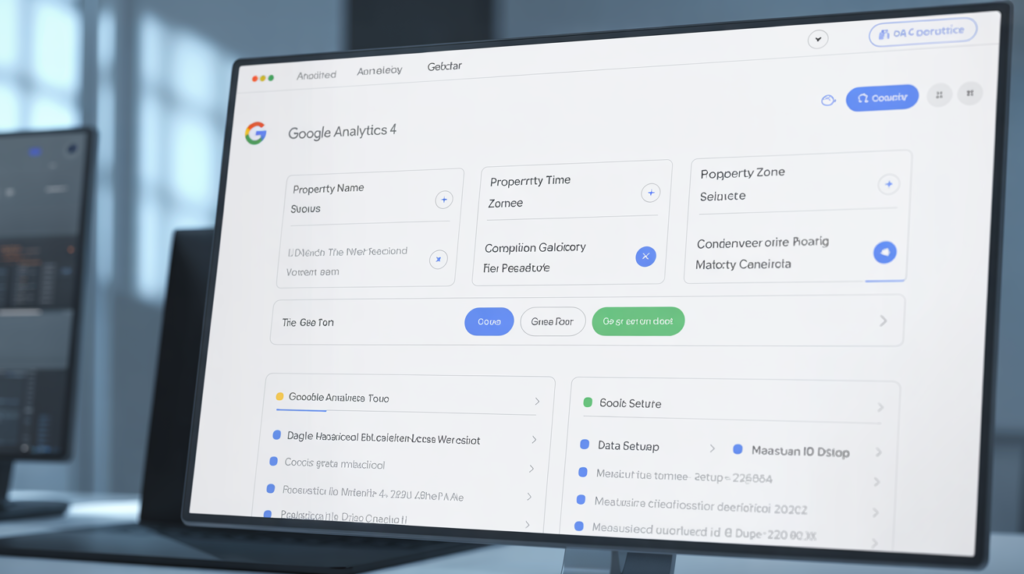
Step 1: Create a Google Analytics 4 Property
- Go to analytics.google.com.
- Sign in with your Google account.
- Click Admin (⚙️) in the lower-left corner.
- Under the Account column, select or create your account.
- Under the Property column, click + Create Property.
- Enter your property name (e.g., “My Website GA4”).
- Select your reporting time zone (choose your US time zone, like Pacific Time or Eastern Time).
- Choose the correct currency (USD).
- Click Next and fill out your business information.
- Click Create.
✅ Tip: This creates your GA4 property and prepares your data stream for tracking.
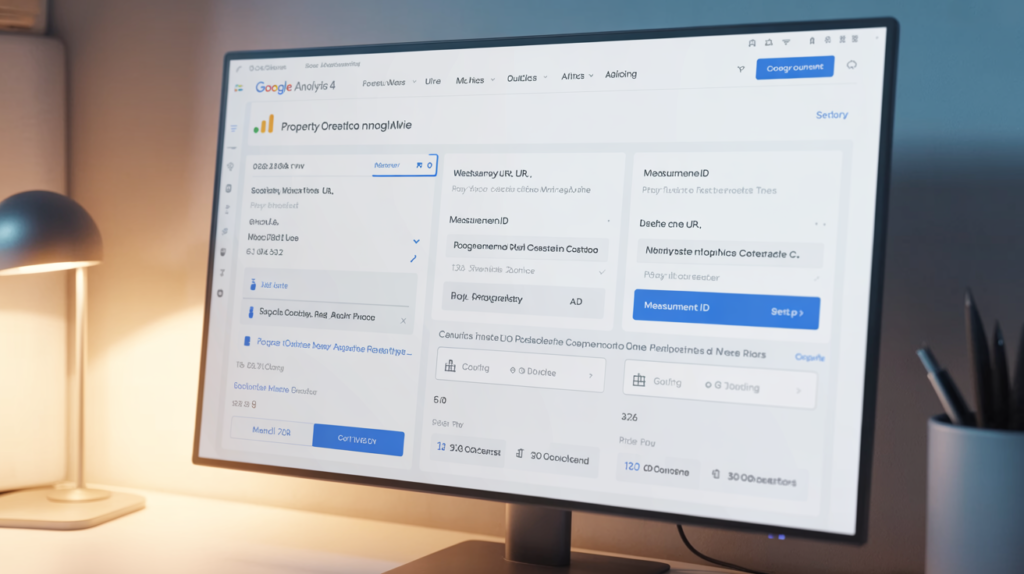
Step 2: Set Up a Data Stream
- Under your new GA4 property, go to Data Streams → Web.
- Enter your website URL (e.g., https://www.yourwebsite.com).
- Give the stream a name (like “Main Website Stream”).
- Toggle Enhanced Measurement ON.
Enhanced Measurement automatically tracks:
- Page views
- Scrolls
- Outbound clicks
- Site searches
- Video engagement
- File downloads
Then click Create Stream.
You’ll now see your Measurement ID — something like G-XXXXXXXXXX. Keep this handy for the next step.
Step 3: Install GA4 Tag on Your Website
You can install the GA4 tracking tag in two ways:
Option A: Using Google Tag Manager (Recommended)
- Go to Google Tag Manager.
- Open your website’s container.
- Click Add a new tag.
- Choose Google Tag → Google Analytics: GA4 Configuration.
- Paste your Measurement ID.
- Choose All Pages as the trigger.
- Click Save and then Submit to publish.
Option B: Add the Tag Manually
If you’re not using Tag Manager, you can add the code snippet directly:
- Copy the Global Site Tag (gtag.js) from your GA4 stream.
- Paste it right before the closing
</head>tag on every page of your website.
Once the tag is installed, GA4 starts collecting data instantly.
Step 4: Verify Tracking Is Working
You can check if data is flowing correctly by:
- Opening your website in another tab.
- Going to your GA4 property → Reports → Realtime.
You should see your own visit appear almost immediately.
If not, wait a few minutes or verify that your tag is properly installed using the Google Tag Assistant Chrome extension.
4. Configuring Important GA4 Settings
Once your property is active, let’s fine-tune it for accuracy and compliance.
a) Set Up Data Retention
Go to Admin → Data Settings → Data Retention.
- Change the setting from 2 months to 14 months for better long-term reporting.
b) Enable Google Signals
Google Signals allows cross-device tracking and audience insights.
- Navigate to Admin → Data Settings → Data Collection → Get Started.
- Turn on Google Signals.
This enables advanced demographic reporting and better ad targeting — especially useful for US-based e-commerce and marketing teams.
c) Link GA4 with Google Ads
To connect analytics and advertising data:
- Go to Admin → Product Links → Google Ads Links.
- Click Link.
- Select your Ads account and complete the setup.
This allows you to track ad conversions directly within GA4 and optimize your ad spend.
d) Set Up Conversions (Goals)
Conversions help you measure business success — such as form submissions, purchases, or downloads.
To set one up:
- Go to Admin → Events.
- Identify an event you want to count as a conversion (e.g.,
purchase,form_submit). - Toggle the “Mark as conversion” switch ON.
You can also create custom events using Tag Manager for specific actions (like button clicks).
e) Connect to BigQuery (Optional for Advanced Users)
BigQuery allows advanced data analysis and custom dashboards.
- Go to Admin → Product Links → BigQuery Links.
- Choose your project and link it.
This is optional but valuable for larger US businesses handling big data sets.
5. Privacy & Policy Compliance (Important for US Websites)
With privacy laws like California’s CCPA and Virginia’s CDPA, data handling must follow ethical and legal guidelines. GA4 offers several features to help ensure compliance:
Key Tips:
- Anonymize IP addresses: GA4 automatically anonymizes IPs — this helps meet privacy standards.
- Respect user consent: If you use cookies, implement a consent banner for users in California and other US states.
- Update your Privacy Policy: Clearly state that your website uses GA4 for analytics and briefly explain how user data is collected.
Staying transparent builds trust and keeps your website compliant with Google and US privacy laws.
6. Understanding GA4 Reports
Once GA4 starts collecting data, you’ll have access to new, intuitive dashboards.
Key Reports to Explore:
- Realtime Report: Shows current user activity on your site.
- Engagement → Events: View all tracked interactions.
- Monetization: Perfect for e-commerce insights.
- Demographics: Understand your US-based audience segments.
- Retention: See how often users return to your website.
You can also create custom reports and explorations for deep analysis — like tracking user journeys or A/B testing outcomes.
7. Common Setup Mistakes to Avoid
Even though GA4 setup is simple, many users make mistakes. Avoid these:
- Forgetting to enable Enhanced Measurement.
- Installing multiple GA4 tags (causes duplicate data).
- Not testing with Realtime report.
- Ignoring consent management for US visitors.
- Not linking with Google Ads or Search Console.
Taking a few minutes to double-check your setup saves headaches later.
8. Why GA4 Matters for US Businesses in 2025
As online competition increases, understanding your customers is more important than ever.
GA4 helps US website owners:
- Track user behavior across multiple devices
- Analyze conversions with AI-powered insights
- Improve marketing ROI
- Stay compliant with privacy regulations
It’s not just an analytics tool — it’s a strategic advantage in the digital marketplace.
9. Final Thoughts
Setting up Google Analytics 4 correctly is one of the smartest moves you can make for your US-based website in 2025.
It gives you the insights to make data-driven decisions, improve content strategy, and optimize your marketing campaigns — all while respecting user privacy.
While the setup may seem technical at first, once it’s running, GA4 becomes an invaluable tool that works quietly in the background, guiding your business toward smarter growth.
If you haven’t switched yet, now’s the time. The earlier you set up GA4, the sooner you’ll start collecting the data that truly matters for your business.
I don’t think the title of your article matches the content lol. Just kidding, mainly because I had some doubts after reading the article.
Your point of view caught my eye and was very interesting. Thanks. I have a question for you.
Thanks for sharing. I read many of your blog posts, cool, your blog is very good.